Melissa says:
Since the nasty cold and flu I had a few weeks ago, I have undergone a complete sleep transformation. Early to bed, early to rise has been my new pattern for a while now, but low and behold I have been awake since 3am this morning. As I lay there wishing myself back to sleep, my mind generally starts to tick over about the coming few weeks of school holidays. I'm sure I am not the only parent who (at times) dreads 2 full weeks of keeping their child busy.
Finally at 4.30am, I gave up the idea of a few more zzzzz's and threw on my slippers and decided to get in a few hours of creative time before the rest of the household surfaces. While tinkering with my Lifescrap album and this month's photo's, I realise that there only a few days left before my baby turns 10 and zips into those double digits. I shouldn't be dwelling of how frustrating he is, or cheeky for that matter. It's the time spent, not where you went or what you saw. But how many times I sit in his room to play Lego, or watch his favourite movie (Star Wars is still fantastic after all these years). So these holidays I have a few ideas planned for us, but chances are they will go out the window when he climbs into my bed for a warm snuggle and then maybe we can catch those extra zzzzz's together.
Friday, June 25, 2010

Monday, June 21, 2010
Today's Adventure
Jill says:
Today we(Mel & I) took a 'creative trip' to Brisbane. We were home very close to midday so we took the rare opportunity to sit and enjoy lunch and some stimulating conversation.
We were talking about some things that have come about from us part-taking in our very own Lifescrap 365. For me, I have a simple style of scrapbooking. At times I like to do fancy stuff however mostly my scrapbooking style is simple, no fuss. I scrapbook to display my photos and to tell a story, with a little creativity. Don't get me wrong, I love the creative process of scrapbooking. I guess I just don't spend hours over designing and creating my pages. I mostly choose scrapbooking products by whether I like the look of them or not and to use Mel's old saying "Can I use it 5 times?". As for names of products etc, I leave that up to Mel. Usually I can explain how something looks and Mel can put a name to it.
Mel is very in touch with all the latest cool and funky scrapbooking supplies. She usually knows about them before anyone else I know. She stays connected to the main trend leaders in scrapbooking and she has a real passion for everything scrapbooking. It's usually Mel who introduces me to products and at times I may have already seen them in magazines etc and Mel puts a name to them for me and shares with me her own spin on the product.
It is fantastic to be able to see things through other's eyes. I find it very inspirational to hear Mel's ideas and uses for products. She thinks outside the box. This kind of thinking inspires me to think outside the box also. Usually after a conversation with Mel, I have come away with a new use for something in my stash.
The example from today is using different sized album refills. I have over my time bought different sized albums for one project or another and inevitably there are always album refills left over. I have always thought that I can't use the leftover refills so they have sat in my cupboard collecting dust. After discussing Mel's Lifescrap album today and another project she is working on, I realised there are no rules about using only 12" x 12" album refills in a 12" x 12" album. I realised that I can also use other size album refills as well; 8.5" x 11", ATC's, anything really. And as Mel says, if it doesn't have the right holes, I can use an anywhere punch or crop-a-dile to put holes where I need them. I was thinking you could either keep all the different sized pages/refills together or you can mix them up and place them throughout the album (this would probably take a little more planning than I am used-but it's still an option). I do get a bit bored with always scrapping 12" x 12", hence my passion for scrapping "projects" like different sized albums for gifts and 'off the page' scrapping, just to spice it up a bit. My revelation for today is I can still mix it up and at the same time continue scrapping my photos in my own simple style.
Today we(Mel & I) took a 'creative trip' to Brisbane. We were home very close to midday so we took the rare opportunity to sit and enjoy lunch and some stimulating conversation.
We were talking about some things that have come about from us part-taking in our very own Lifescrap 365. For me, I have a simple style of scrapbooking. At times I like to do fancy stuff however mostly my scrapbooking style is simple, no fuss. I scrapbook to display my photos and to tell a story, with a little creativity. Don't get me wrong, I love the creative process of scrapbooking. I guess I just don't spend hours over designing and creating my pages. I mostly choose scrapbooking products by whether I like the look of them or not and to use Mel's old saying "Can I use it 5 times?". As for names of products etc, I leave that up to Mel. Usually I can explain how something looks and Mel can put a name to it.
Mel is very in touch with all the latest cool and funky scrapbooking supplies. She usually knows about them before anyone else I know. She stays connected to the main trend leaders in scrapbooking and she has a real passion for everything scrapbooking. It's usually Mel who introduces me to products and at times I may have already seen them in magazines etc and Mel puts a name to them for me and shares with me her own spin on the product.
It is fantastic to be able to see things through other's eyes. I find it very inspirational to hear Mel's ideas and uses for products. She thinks outside the box. This kind of thinking inspires me to think outside the box also. Usually after a conversation with Mel, I have come away with a new use for something in my stash.
The example from today is using different sized album refills. I have over my time bought different sized albums for one project or another and inevitably there are always album refills left over. I have always thought that I can't use the leftover refills so they have sat in my cupboard collecting dust. After discussing Mel's Lifescrap album today and another project she is working on, I realised there are no rules about using only 12" x 12" album refills in a 12" x 12" album. I realised that I can also use other size album refills as well; 8.5" x 11", ATC's, anything really. And as Mel says, if it doesn't have the right holes, I can use an anywhere punch or crop-a-dile to put holes where I need them. I was thinking you could either keep all the different sized pages/refills together or you can mix them up and place them throughout the album (this would probably take a little more planning than I am used-but it's still an option). I do get a bit bored with always scrapping 12" x 12", hence my passion for scrapping "projects" like different sized albums for gifts and 'off the page' scrapping, just to spice it up a bit. My revelation for today is I can still mix it up and at the same time continue scrapping my photos in my own simple style.
Thursday, June 17, 2010
3 Hints for June
Melissa says:
I friend recently asked what kind of things I photographed for the Lifescrap 365 album. She had seen the first few months finished and the idea had peaked her curiousity, maybe I can convince her to join in next year. Within the the first few weeks of this year, I knew I was going to get the same kind of photo time and time again if I didn't start to look at my daily life very differently. I soon realised that my day was filled with simple things that accumulate to a much bigger picture as I began snapping away.
Here's 3 easy photo's that you can take very quickly;
1. Your health and well being - the medication that I used for 2 weeks.

2. Places you visit - date night with my husband, while Griffin was at the school disco.
I friend recently asked what kind of things I photographed for the Lifescrap 365 album. She had seen the first few months finished and the idea had peaked her curiousity, maybe I can convince her to join in next year. Within the the first few weeks of this year, I knew I was going to get the same kind of photo time and time again if I didn't start to look at my daily life very differently. I soon realised that my day was filled with simple things that accumulate to a much bigger picture as I began snapping away.
Here's 3 easy photo's that you can take very quickly;
1. Your health and well being - the medication that I used for 2 weeks.

2. Places you visit - date night with my husband, while Griffin was at the school disco.


Wednesday, June 2, 2010
How the Other Half Does It
Jill says:
When I read Mel's post about how she meticulously organises her Lifescrap photos, paper, embellishments, etc., I had a bit of a chuckle to myself. She is far more organised than me. Mel also puts far more time into the prep for her Lifescrap album than me. I thought to myself, "I'm gonna take photos step by step of how I prepare for Lifescrap (just for a laugh). So here it is.
When I read Mel's post about how she meticulously organises her Lifescrap photos, paper, embellishments, etc., I had a bit of a chuckle to myself. She is far more organised than me. Mel also puts far more time into the prep for her Lifescrap album than me. I thought to myself, "I'm gonna take photos step by step of how I prepare for Lifescrap (just for a laugh). So here it is.

Step 1.
A couple of months ago I went through my old scrapbooking magazines (so they could go to a new home after I got what I wanted out of them). I thought it would be a good opportunity to get all the half decent papers out them and use them for Lifescrap since the whole idea of Lifescrap is to recycle.

Step 2.
Recently on a Scrapbooking Retreat, I spent some time cutting up rectangles 3 1/2 inches by 2 1/2 inches out of all the half decent papers I had rescued from my old magazines. That's a couple of months out of the way.

Step 3.
At the start of the year I went through all the white pages I had kept from albums that I didn't use and cut out rectangles in the same dimensions. They sit in a basket on my table for easy access (and not really having any other idea where to store them) so they are ready for journalling.

Step 4.
When I print photos throughtout the month for other things like circle journals or layouts (usually I don't print photos at home unless I need a special size or I have forgotten to get a photo printed when I have visited the photo lab), I also print my photos for Lifescrap. If I don't have any need to print photos during the month, I do it on the day I am finishing off for that month.

Step 5.
I get out all my scrap cardstock and pick out some matching cardstock for the month title and for the date circles and any other embellishments I want to use up. I usually use the same circle punch for the date and I try to add in something else. This month I punched some daisies out of pink cardstock.

Step 6.
I have one stamp set that has the right size numbers so no big choice here. I like that cos it saves me time.
Step 7.
Write out the journalling by going over my diary (although this will change from this month as I am thinking about using Mel's idea of a month to an opening diary just for Lifescrap) and type up the journalling on my computer. Also this is the time to put together any embellishments.

 Step 8.
Put it all together.
The almost finished product! I am still to print one photo (which I hurriedly got my husband to take today) of my 'stitch' on my back. I realised when I was doing my Lifescrap (as I took these photos this morning) that I didn't actually have a photo of my 'procedure' and needed one as I had journalled about it.
So there you have it. In 8 easy steps. A simple record of how I 'throw' my Lifescrap 365 pages together.
Monday, May 31, 2010
The last of May
Melissa says:
This month I really got into the swing of taking more photo's than previous months. Using my camera phone was just so much more convenient, especially when I tend to use mini prints in my lifescrap album and the quality was really good.
A little reminder to Jill when she reads this. You promised to create a post about how you plan your month. I'm dying to see how you do it. 


This month I really got into the swing of taking more photo's than previous months. Using my camera phone was just so much more convenient, especially when I tend to use mini prints in my lifescrap album and the quality was really good.
A little reminder to Jill when she reads this. You promised to create a post about how you plan your month. I'm dying to see how you do it.




Monday, May 10, 2010
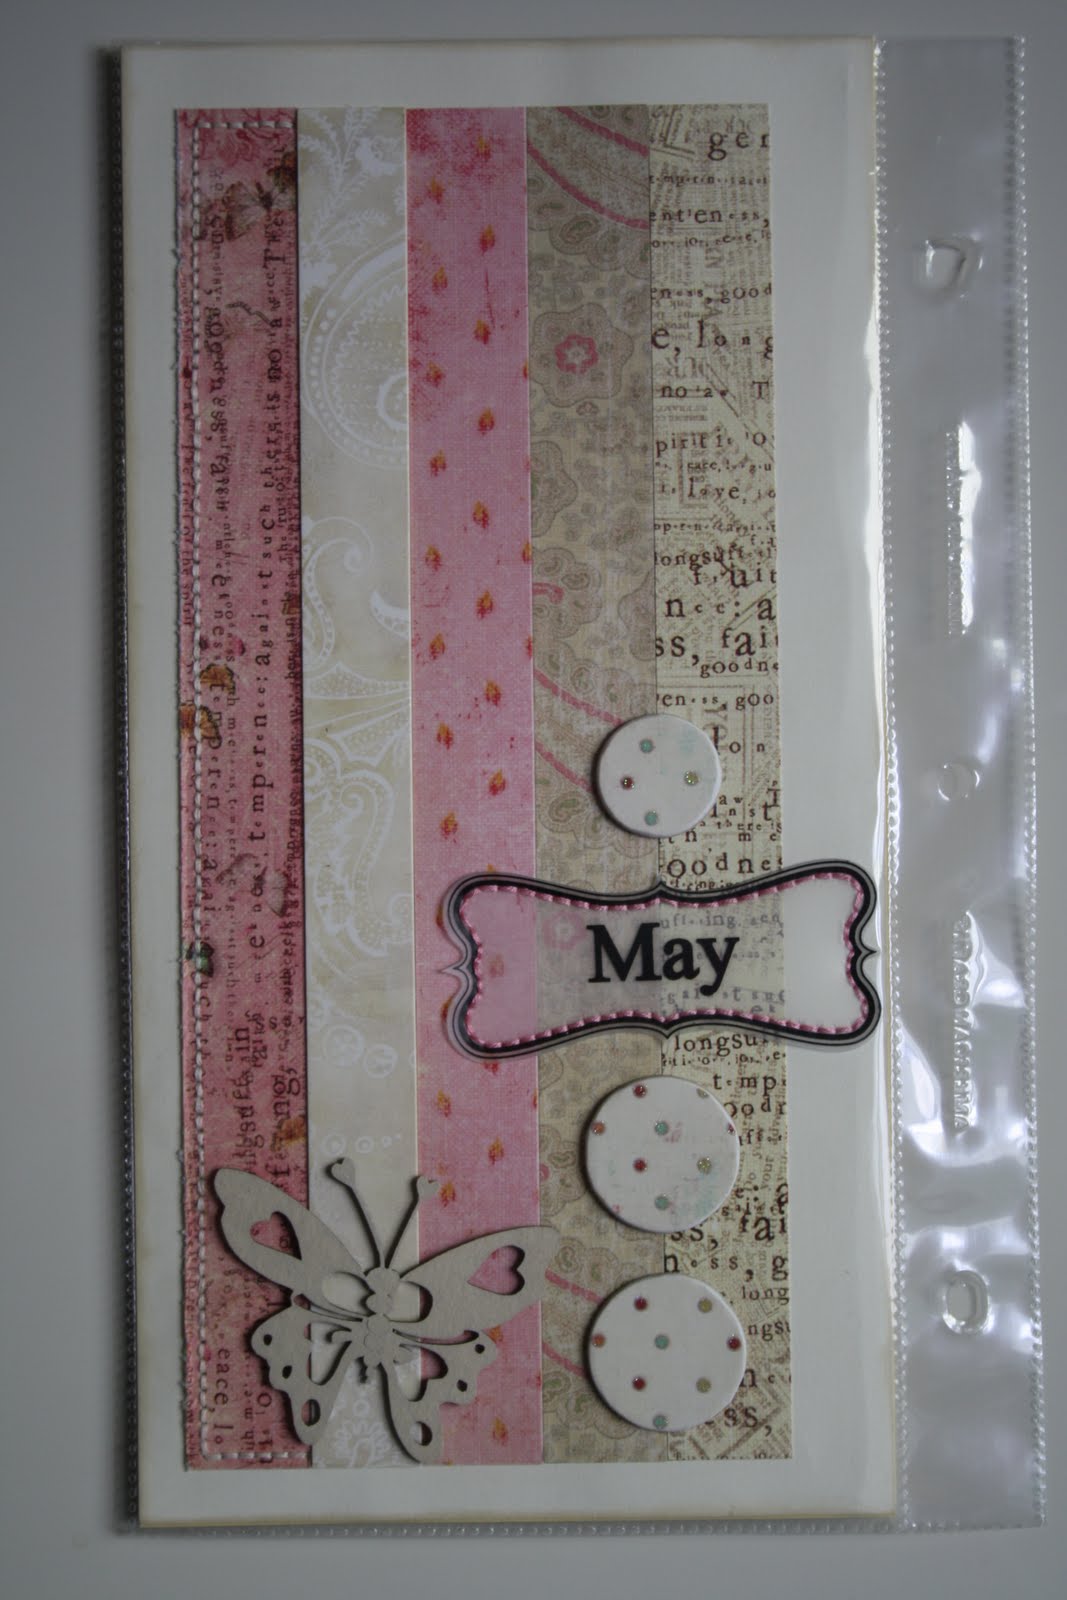
The month of May in progress
Melissa says:
When the beginning of the month rolls around, I love to create an overall look. Not only does it make it easy to just add photos and journalling, but a massive timesaver when you can just reach for the same thing for a block of time. Here's a sneak peek at the process. Maybe it will help when it comes to planning your next project.

Step 1.
I like to choose 7 complimentary patterns or cardstock. They are sometimes from a collection but mostly they are a general mix of things I already have at home. I have found that 1 full sheet of each pattern is more than enough. 2 pieces of cardstock to flesh out the title pages completes the set.

Step 2.
Next I start looking in my scraps folders to find any of the papers or cardstock that I have previously used. Stickers and rub on's with numbers are essential when labelling the date and I have a set of acetate months that I am using all year.For me, stitching is a pre requisite, so I find the matching shades of DMC cotton and any embellishments that will compliment the colour grouping.

Step 3.
I take the time to cut all of the pieces I will need to fill the page protectors ear marked for the month. A cardstock base for the title and final page of the month and all of patterns are cut into journalling size rectangles to fit the ATC refills. This is where all of your scraps can start to be very handy.
 Step 4.
I place all of the pre cut pieces in all of the sleeves, so I can move colours around and get the placement just the way I want it before I start any of the entries. Usually I like to get this done within the first few days of the month so it allows me no time to fall behind on taking a photo most days.

Step 5.
When I have done all of those things, I keep all of the supplies together for the entire month so I can quickly just grab, create and move on to something else. Great for dashing into my workroom to do a few minutes between hanging out the washing and mopping the floors.
When the beginning of the month rolls around, I love to create an overall look. Not only does it make it easy to just add photos and journalling, but a massive timesaver when you can just reach for the same thing for a block of time. Here's a sneak peek at the process. Maybe it will help when it comes to planning your next project.

Step 1.
I like to choose 7 complimentary patterns or cardstock. They are sometimes from a collection but mostly they are a general mix of things I already have at home. I have found that 1 full sheet of each pattern is more than enough. 2 pieces of cardstock to flesh out the title pages completes the set.

Step 2.
Next I start looking in my scraps folders to find any of the papers or cardstock that I have previously used. Stickers and rub on's with numbers are essential when labelling the date and I have a set of acetate months that I am using all year.For me, stitching is a pre requisite, so I find the matching shades of DMC cotton and any embellishments that will compliment the colour grouping.

Step 3.
I take the time to cut all of the pieces I will need to fill the page protectors ear marked for the month. A cardstock base for the title and final page of the month and all of patterns are cut into journalling size rectangles to fit the ATC refills. This is where all of your scraps can start to be very handy.

 Step 4.
I place all of the pre cut pieces in all of the sleeves, so I can move colours around and get the placement just the way I want it before I start any of the entries. Usually I like to get this done within the first few days of the month so it allows me no time to fall behind on taking a photo most days.

Step 5.
To keep track of the photo's I take every month, I have a cheap diary to keep important details in. Each day that I take a photo, I circle the date, write what the photo was as well as a quick bit of journalling. It's also a great place to keep a note of anything else I need to keep track of.
When I have done all of those things, I keep all of the supplies together for the entire month so I can quickly just grab, create and move on to something else. Great for dashing into my workroom to do a few minutes between hanging out the washing and mopping the floors.
Subscribe to:
Posts (Atom)